Ticket control in cashier mode
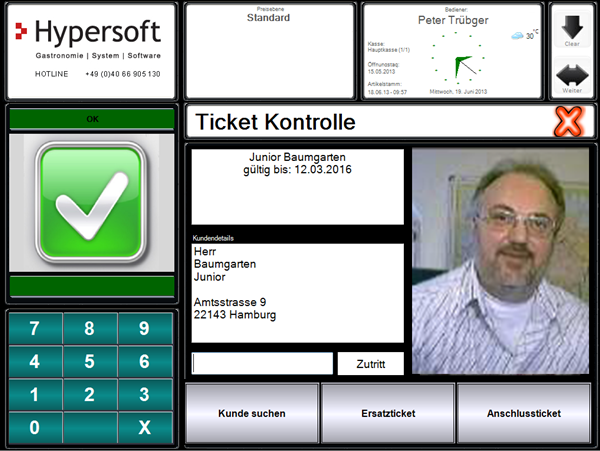
You can use the keyboard programming to assign the ticket control function to a key and start it with that. The ticket is captured (with a barcode scanner) and the result is displayed. Access is booked automatically and the ticket is validated.

The left pane displays large icons that communicate the status of the ticket.
In the middle field, the ticket information is displayed, including the customer details (if necessary with picture). All displays are emptied after 15 seconds.
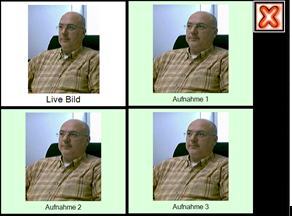
When you press the image, the image capture dialog appears and offers 4 new photos from the camera so that you can quickly assign a new photo.

When you press the Live image, the images are updated.
Manual entry
The numeric keypad at the bottom left is used to numerically enter the ticket number in the event that a barcode cannot be read automatically. The input appears in the white field next to the keyboard. For manual entry, the Access button must also be pressed to book access and validate the ticket.
Access without ticket
In the lower area is the button Find customer. This allows you to search for a customer who does not have his ticket with him and then check it in with the Access button.
Spare ticket and interface ticket
The buttons Replacement ticket and Connection ticket are only activated when a ticket has been read in or a valid selection has been made via Search customer. Replacement tickets are printed with replacement tickets, for example if the originals have been lost. Connection tickets are, for example, extensions of annual tickets.
Examples of ticket communication
Rejected ticket:

Expired ticket ( text in red field above ):

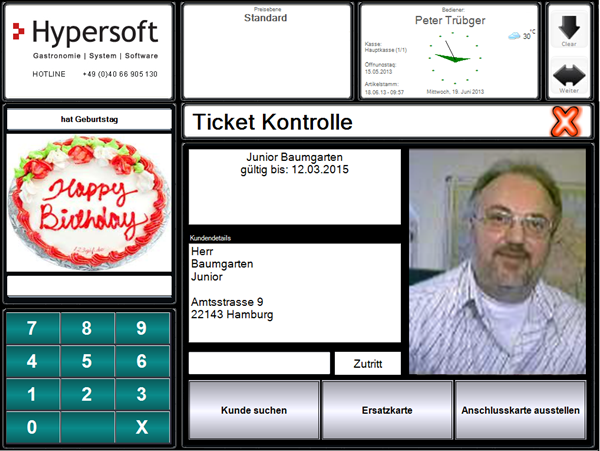
As far as the information is available and access is allowed we will display a birthday:

Back to the overarching topic: Check tickets