Rocket for Android Start-Up
This is a brief guide to commissioning a replacement Rocket for Android (or Rocket 2) device. The Rocket replacement device delivered to you for replacement is supplied by Hypersoft Technik with your WLAN and IP address preset so that it can connect to your network. Then proceed as follows:
Instructions - for replacing a Rocket for Android (Rocket 2)
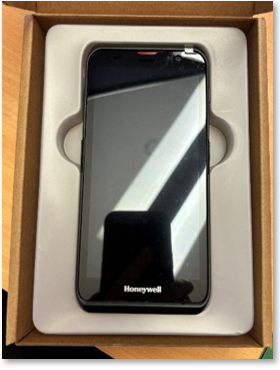
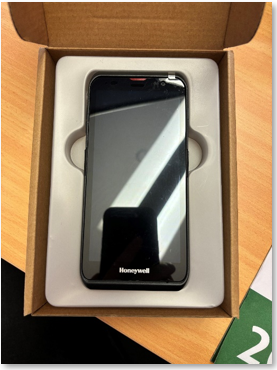
You receive the appliance securely packaged and open the box:

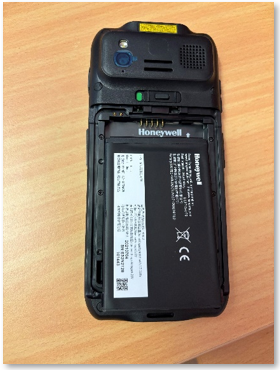
The battery cover is located on the back, open it and insert the battery. Pay attention to the position of the contacts and push the battery into the battery compartment from bottom to top towards the contacts and then replace the cover on the device:


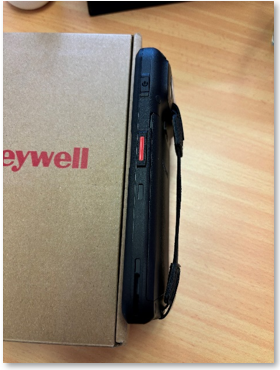
Switch on the device on the right-hand side:
1. store system password...
After a short time, the device is ready for operation and the Hypersoft mPOS Client app is started automatically. To use the app, a system password must first be stored. Please use your known system password; if you do not know this, you can also enter your Hypersoft customer number here:

2. pair Bluetooth printer...
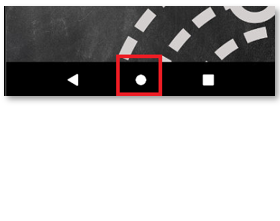
After you press Save, you switch to the Home screen. You can get there by swiping up from the bottom half of the screen and selecting the circle symbol:

Then select the three dots at the top right, then Settings and then Bluetooth Settings:


Now switch on the Bluetooth printer that you want to pair (and no further away to avoid confusion). Select the Pair new device option on the Rocket:

A selection of devices that are available for a Bluetooth connection appears. The printer you want to pair is called SPP-R200III:
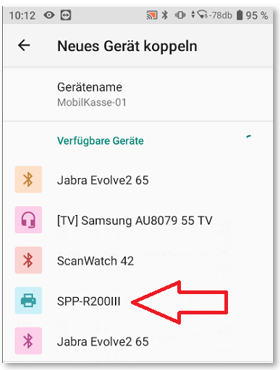
The printer confirms the pairing with a narrow printout of the number, which appears simultaneously on the Rocket's display. Please confirm with Pair to successfully complete the pairing process:

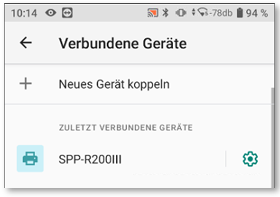
After pairing, the printer appears under Recently connected devices, allowing you to confirm successful pairing:
3. Configure the mPOS app...
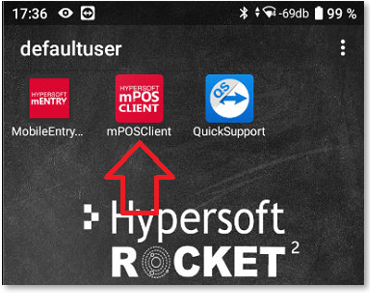
Go to the Home screen and start the mPOS Client app:

The mPOS Client APP offers you the settings with a cogwheel symbol:

The password that was stored as described above is now required:

Now the APP must be configured, enter the following information:
-
IP address of the server (Hypersoft Support will be happy to help you here)
-
Port for the device (Hypersoft Support will be happy to help you here)
-
Select area 3 to select the Bluetooth printer:

In this dialogue, you must scroll further down and then save your settings:

The window closes and you are back on the Home screen. The APP must now be finally started...
The mPOS Client app connects to the mPOS server and checks for updates. If an update is available, please select Execute and then Install, otherwise the area will be skipped:

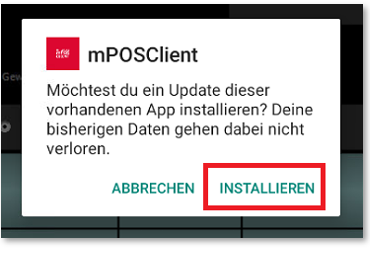

If an update has been installed, please restart the app as described above.
Return of the defective device
Prepare the return of the defective device immediately so that the process can be completed and queries and additional costs can be avoided.
-
Switch off the defective device, remove the battery and place it in the box of the device sent to you as described above.
-
Return the defective device to Hypersoft.
Further topics:
Technical WLAN requirements of the devices
Back to the overarching topic: Rocket (for Android)