Set up gastromatic interface
Step 1 Setup in the portal
In the portal MyHypersoft you can select gastromatic under interfaces and set up the interface.

If you have several locations in a central system, you can maintain the Client ID and Client Secret for all locations, but each location can also maintain its own data. The Client ID and the Client Secret can be obtained from gastromatic, enter this information here and press CheckConnection .
Step 2 Setup in the MCP
Once the gastromatic interface has been set up in the portal, go to the MCP and start the time recording interfaceunder Connections.
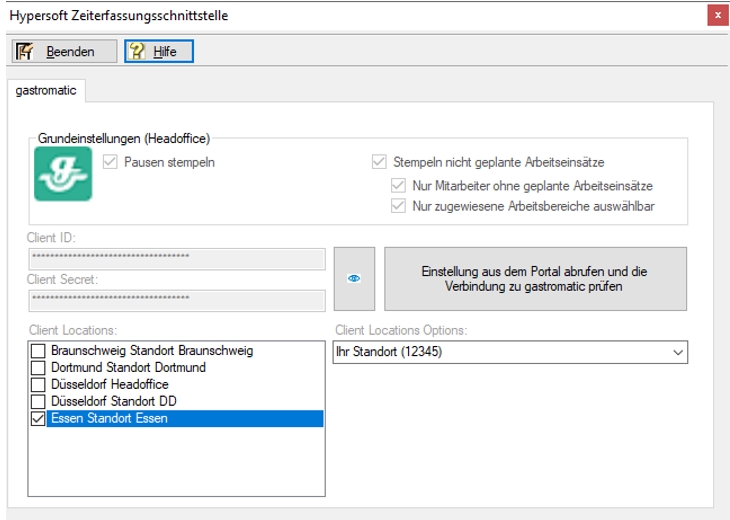
Click Retrieve settings from the portal and check the interface to gastromatic. This checks both the interface to the portal and the interface to gastromatic and in the upper area some of the basic settings (options) from gastromatic are displayed for information.
In order to be able to map several locations with gastromatic, there are further settings. In gastromatic, every location can be clearly identified with a so-called LocationID. With the help of this LocationID the activities (work areas) can be assigned exactly per employee and location.
After retrieving the settings from the portal and checking the interface, the deposited locations (client locatios) are made available in a list. At least one of the locations must be selected to work with the Hypersoft location. A sales point or profit center can be assigned to each of the selected client locations. This is necessary if more than one LocationID is to be used at a Hypersoft location, otherwise the location can simply remain assigned by default.
The selection is made via the selection box "Client Locations Options:" on the right side of the dialog.
The stamp data and also the master data are retrieved for all selected locations and new stamp times from the hypersoft system are transferred to gastromatic with this LocationID. Thus it is also possible to assign an employee to several locations in gastromatic (without double time recording data in Hypersoft).
Step 3 in the MCP
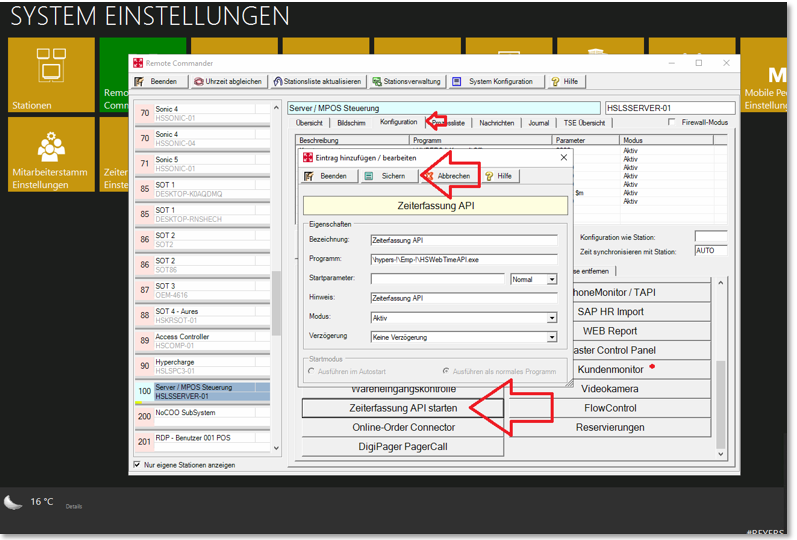
Another program must now be activated in the Terminal Commander on the server or at the main cash register in order to carry out the adjustment.
A gastromatic entry is available in the Remote Commander for the start configuration. The start entry for gastromatic with time recording can be made via the template button Start time recording API. This start entry is usually only required on the server / main device.
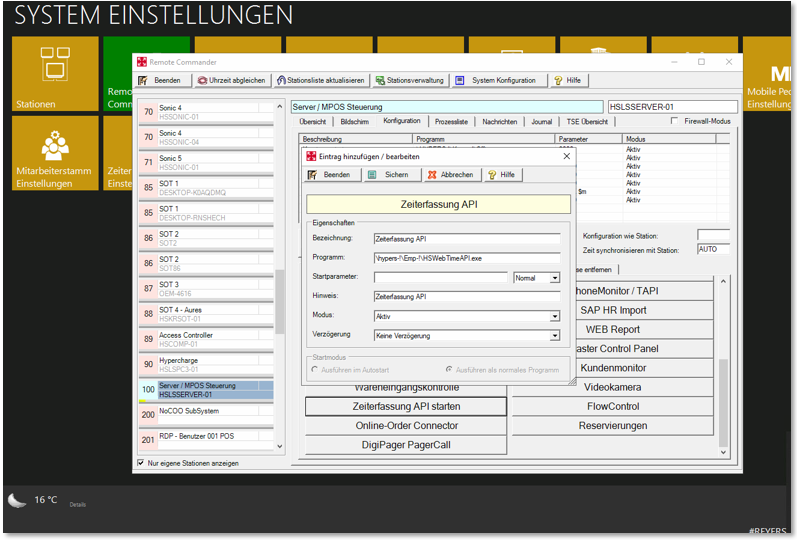
Open Configuration, then select Start Time Recording API, then Save:
This is what the programme looks like when it is started:
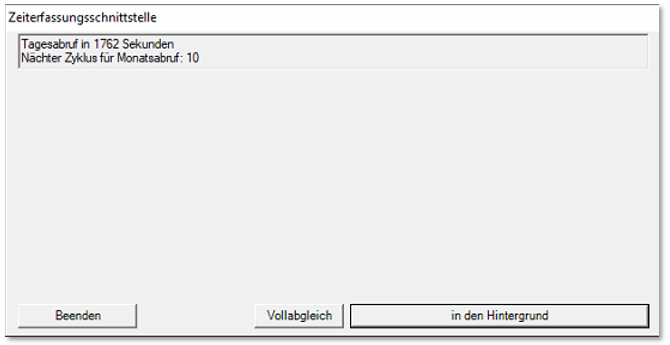
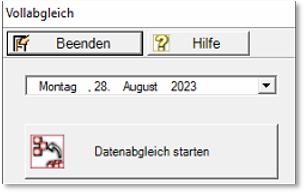
The Full Adjustment button then looks like this:
Further topics: Employee address data
Back to the overarching topic: gastromatic integration