Widget Settings
- - Discontinued - -

The program will not be developed further. Please change your workflow. Information on follow-up programmes, announcements and discontinuations.
Further information or alternatives can be found here: Discontinuation of Hypersoft products
- - Discontinued - -
Embed our widget in your homepage to offer your guests a modern and intuitive possibility for independent table reservation.
On your homepage only a small icon will be embedded, which will open our reservation widget when activated.
Widget settings in the headquarters and at the site
Settings that you must make in Reservation 2.0 under your central customer number:
- Widget settings to confirm the reservation request
- Widget setting for entering comments
- Widget settings for the persons limit
- Widget -Settings for the lead time
- Widget-settings for colours
- Widget-settings for texts
- Widget settings, whether areas and images should be displayed
Settings that you must make in Reservation 2.0 under the respective location customer number:
- Reservation times & contingents
- Names and images of areas
- Reset eMail password settings
- eMail settings for changes, reminders and cancellations
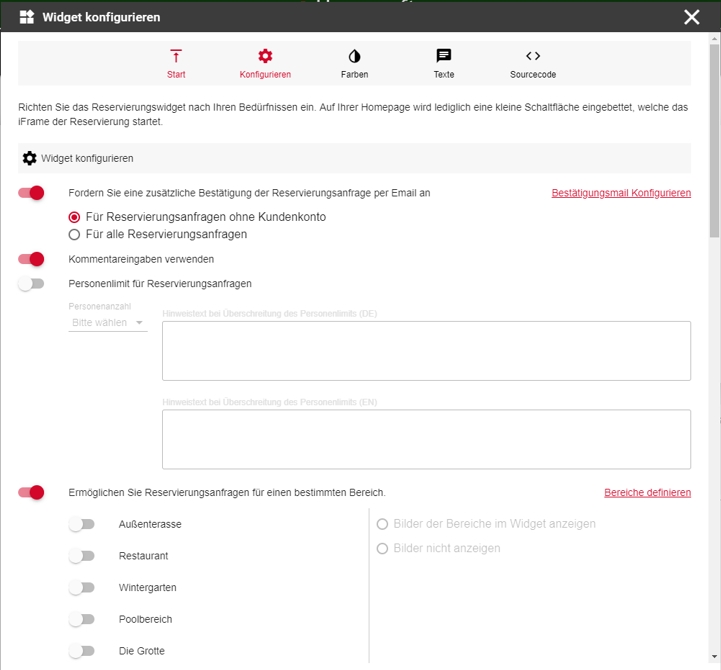
Set whether you would like to send an additional confirmation by email for reservation requests via widget. Here you can additionally define whether you want to send the confirmation only for inquiries without customer account, or for all inquiries.
If you have not yet made your eMail settings, you can reach them immediately via the listed link in the programme.
Specify whether your guests can optionally leave a comment.
Specify the maximum number of persons that can be requested per reservation request. To do this, set a person limit for the number of persons from which an individual information text is displayed.
Allow your guests to select a specific area via the widget, you can share or hide the displayed areas separately. Specify whether you want your stored images to be displayed per area.
Specify the minimum time that must elapse between a reservation request and the reservation time.
Specify the minimum time between the entry of a reservation and the reservation time (lead time). This value applies to the widget acquisition. There is a special setting for transactioning via the backend.
See best practice in this context through proper lead times for reservations.

Colours of the widget...

Specify the colors of the widget to customize the look of your homepage. You can define colors using HTML color code for the following areas: accent color, font color, background, and icons & buttons.
Texts of the widget...
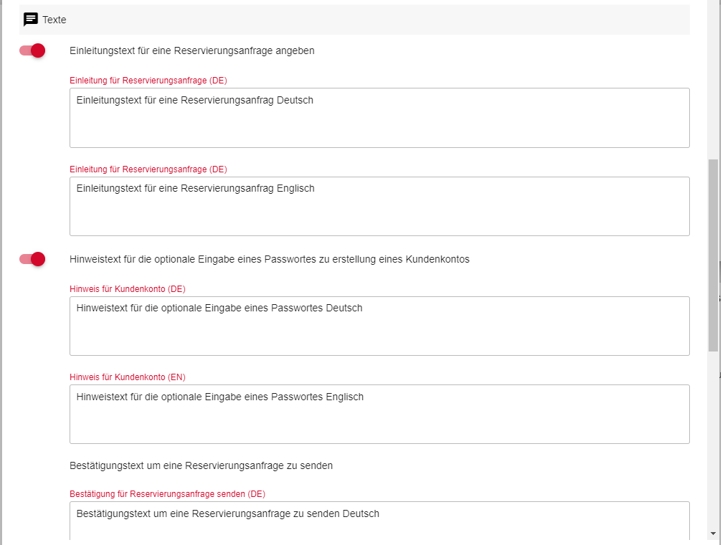
Define the displayed texts of your widget.
Introductory text: Enter a friendly introduction
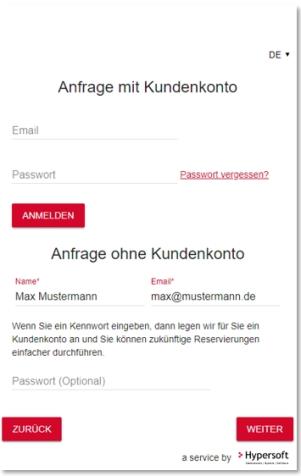
Creation of a customer account (optional): If a guest has not yet registered and entered his data for the first time, he can optionally enter a password to create a customer account.
Send confirmation text for reservation enquiry: Enter a text which must be confirmed BEFORE sending a reservation enquiry via "Opt-In". Please note the requirements of data protection, in which you may link legal texts of your homepage, which are accepted by the "Opt-In" procedure.
Source code of the widget
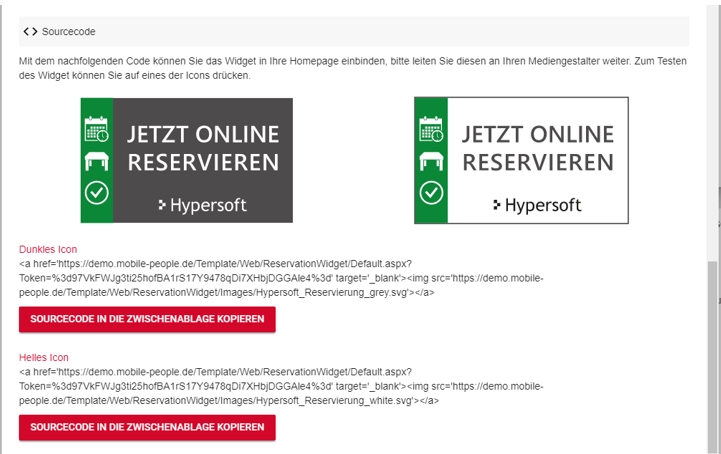
To embed the widget into your homepage, you can select one of the icons shown. For this, please contact your media designer and forward the source code of the desired symbol area to him. With the buttons Copy source code to clipboard , you can easily paste the code into an email and send it.
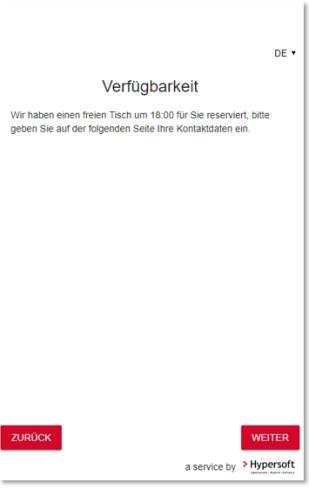
To test the widget, you can click on one of the two icon areas.
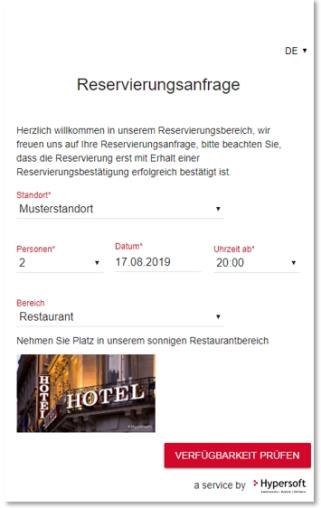

Central widget
If you have several locations, you can also implement the reservation widget with a location selection on your homepage. Please have a reservation license activated for your central client and use the "source code" of the widget from the central clients.
Please note the following settings/data maintenance when using a central widget: All locations located under the central client with an assigned Reservation 2.0 licenseare displayed in the location selection and can be selected by the user in the widget.

Back to the overarching topic: Configure Hypersoft reservation