Activate Hypersoft Lounge
In order to use the Live Report program in the Hypersoft Portal, some settings must be made. Only then will the data be transferred from your POS system. To do this, first contact your specialist dealer or Hypersoft Support. You will then receive a code, which you please enter into the program (see below).
During the initial setup, HS Lounge asks for the password itself; during a renewal, the password can be entered in the master information of the MCP.
So if you do not want us to store your transaction data mentioned here on our server, you do not need to do anything, because the lounge is not activated by default. If you would like to switch off this data transmission later, you can do so at any time - even without us.
Setting up the Hypersoft Lounge Data Transmission
Go to your MCP workstation equipped with the access data mentioned above.
- In the programme group System Settings, start Remote Commander and select the terminal that is to transmit the data. This should also be the terminal to which (optionally) a webcam is connected for image transmission. If you want to transmit stock management data or high turnover in general, you should select a fast PC for this purpose.
- Go to the Configuration tab. Press Lounge Interface and in the appearing dialogue Saveto get an entry in the list (the settings do not have to be changed). Likewise, press Video camera and Saveto obtain another entry.
- Exit all Hypersoft programs and the MCP on this PC. Close the Terminal Commander - alternatively simply restart the PC.
- When you restart, the Hypersoft Lounge Initial Start screen will appear and you will be guided through the final setup in six steps.
Hypersoft Lounge First Launch
The first time you start the Hypersoft Lounge, you will be guided through the setup transaction in six convenient steps. This allows you to see exactly how the interface is set up. Any interference would be immediately apparent.
Step 1 - Software maintenance Licence check:
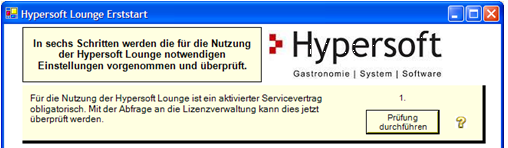
Simply press Perform check - if the answer is positive, a green tick appears and the next step is displayed:

The second step is to access our server as a trial:
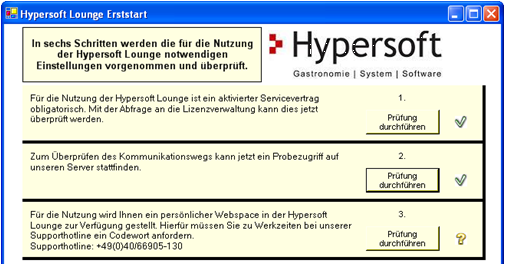
You may have already completed the third step and received the activation code. Click on Perform check to receive confirmation that we can accept your data:

Enter the unlock code for the Hypersoft Lounge and press Check to verify it:

In step five, test data is transmitted to our server and its arrival is confirmed:

With the sixth step, the setup is successfully completed and you can select Activate Hypersoft Lounge.
Support interaction with the portal

Activate the switch Support interaction with the portal if item stock & purchase price and the net purchase volume are to be retrieved in the live report in the portal. If you do not use stock management, leave this switch inactive so that system resources are not used unnecessarily.
Activate the checkbox Always send time recording to the portal if you need the recorded times in the live report before the first booking, otherwise the data is only transmitted to the portal with the first booking of the cash register.
Hypersoft Lounge in the info area...
If the interface to the Hypersoft Lounge is started on your PC, this is indicated by an icon in the notification area.
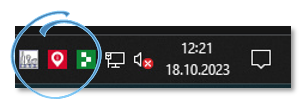
If you click on it, an information dialog is displayed:

With the button Background the program is executed again in the info area. With Exit the program is stopped and only executed again when the PC is restarted.
If a secure interface with HTTPS is not possible, you can select the non-secure interface HTTP.
Connect webcam
A USB webcam (not an IP camera) only needs to be connected and recognised by the system. Once you have set up Remote Commander to start the video camera, the captured image can be transmitted. Other settings are not required.
Further topics: Webcam distributor
Further topics: live report
Back to the overarching topic: MyHypersoft Cloud Services