mPOS Client-Server in practice
Starting and connecting the client
If you want to use a Bluetooth printer, first pair it with the mobile device in the Android operating system.


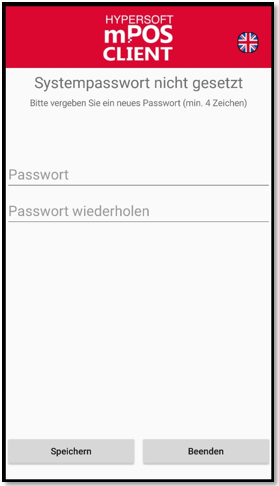
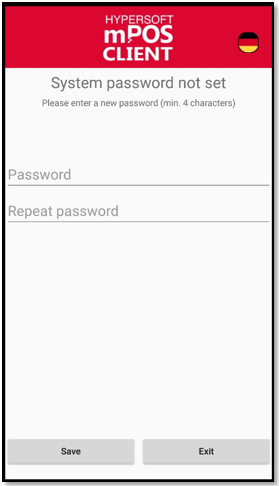
The PayPOS user can choose between German and English. This only refers to the set-up and not to the mPOS programme and the item data (for this, an English language version of the programmes would have to be set up and master data would have to be entered in English). Select from the flag icon at the top:
Establishment....
-
During the loading process, a start screen is displayed.
-
During the initial setup, the APP starts with the request to assign a system password. This is required if subsequent changes to the configuration data are necessary.
-
After the password is saved, the screen for entering the connection data to the mPOS server and for selecting the Bluetooth printer opens. The printer must already be paired via the Android operating system before setting it in the POS Client.
After the connection data has been saved (once), the mPOS Client establishes the connection to the mPOS Server. This screen is only seen briefly by default and is also displayed immediately after the start screen after the initial installation:

If the mPOS client does not connect, or if the configuration of the server has been changed, the cogwheel in the upper left corner can be used to call up the configuration screen again for adjustments. The previously set system password is required for this. The system password can be changed at any time in the configuration screen.
After a successful connection, the mPOS server transmits its screen to the mPOS client. The current screen displayed on the server is always transmitted. If the connection is lost, the mPOS Client automatically reconnects to the server and the last screen shown is displayed again. As soon as the mPOS client is connected to the mPOS server, it can receive input:

All mPOS functions are also available to the mPOS Client.
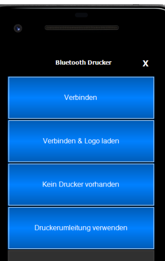
After logging on to the mPOS Client, the system first asks (as in the standard mPOS) for the printer to be used. A Bluetooth printer can be selected here if, for example, a belt printer has been set up on the mPOS Client. You can also use an alternate printer at another POS system.
Using the Bluetooth printer Further topics:
The scanner must be activated via the mPOS client, either via the volume buttons (if available) or via the Special gesture for mPOS Client - Start scanner.
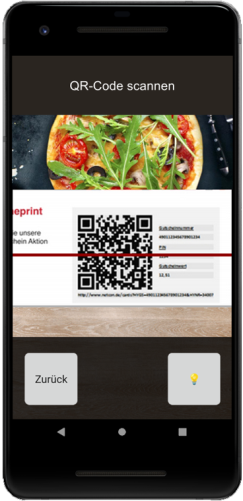
Use the scanner to capture the Hypersoft web vouchers or call up the customers via QR codes. After a successful scan, there is a short pause to avoid double scans of the same code. The light button is used to switch on the lighting on the handset for the scan.
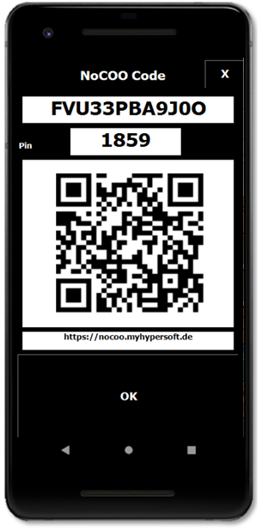
mPOS Client-Server and mPOS Handheld support not only Bluetooth belt printers but also POS printers as standard. You may want to display the NoCOO code for the Digital Invoice and your marketing page in your workflow, then your customer can photograph it. The user can scan the QR code, but it would be better to take a photo of the entire dialogue so that he can call up the URL later and enter the PIN:
Back to the overarching topic: mPOS Client-Server