ePOS Tap2Pay Setup
(If you are using Orderman 10 in the Hypersoft Edition, please note the corresponding setting: Important notes on configuring the Orderman 10)
Set up cashless payment transactions for ePOS Tap2Pay
Setting up ePOS Tap2Pay for cashless payments is similar to setting up a conventional Adyen terminal. The difference is that the terminal ID is assigned manually. This should bear the name of the mPOS system used, as in the following example:
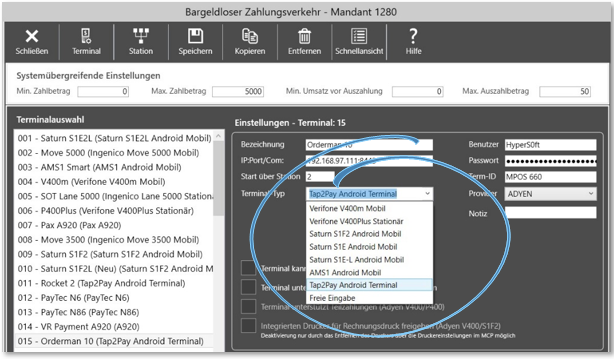
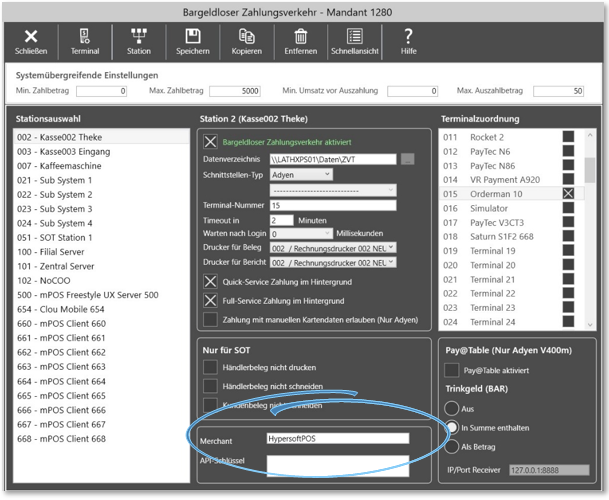
First select the provider Adyen. Under Terminal type, select Tap to Pay. In contrast to conventional Adyen terminals, the merchant must be entered in the BZV station settings. The merchant must be stored in the station on which the BZV clients start. This step is crucial for the subsequent Adyen boarding:
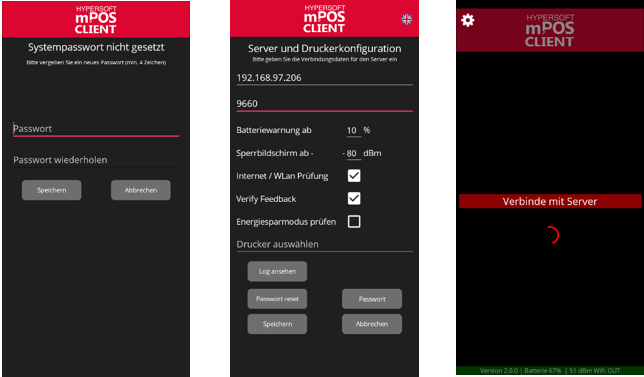
Setting up the mPOS Client...
The initial steps for setting up the mPOS Client are the same as for the mPOS Client Server system: mPOS Server Onboarding
After successfully connecting the mPOS client, you will be taken to the ePOS Tap2Pay app to check whether the mobile device is registered with Adyen. After the check, the registration screen is displayed:
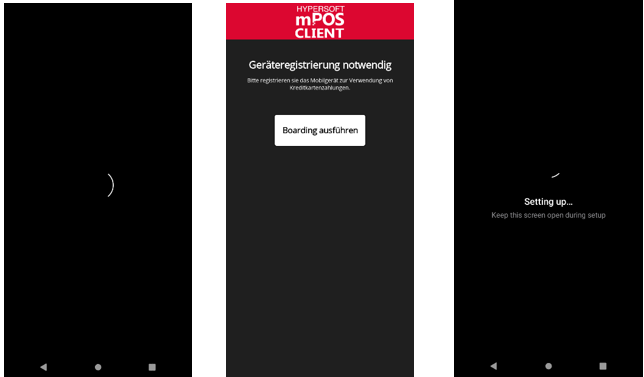
Adyen refers to the configuration of your device for processing cashless payments as boarding. During the boarding process, you switch to the ePOS Tap2Pay app and complete your registration. This registration is only required once during the initial installation. The mPOS client then returns to its start screen and is now ready to accept card payments.
Further topics:
Back to the overarching topic: Hypersoft Pay