CloudBOX Live Connector Settings

The CloudBOX Connector settings are used exclusively for processing all House Order operations.
Set CloudBOX Live Connector
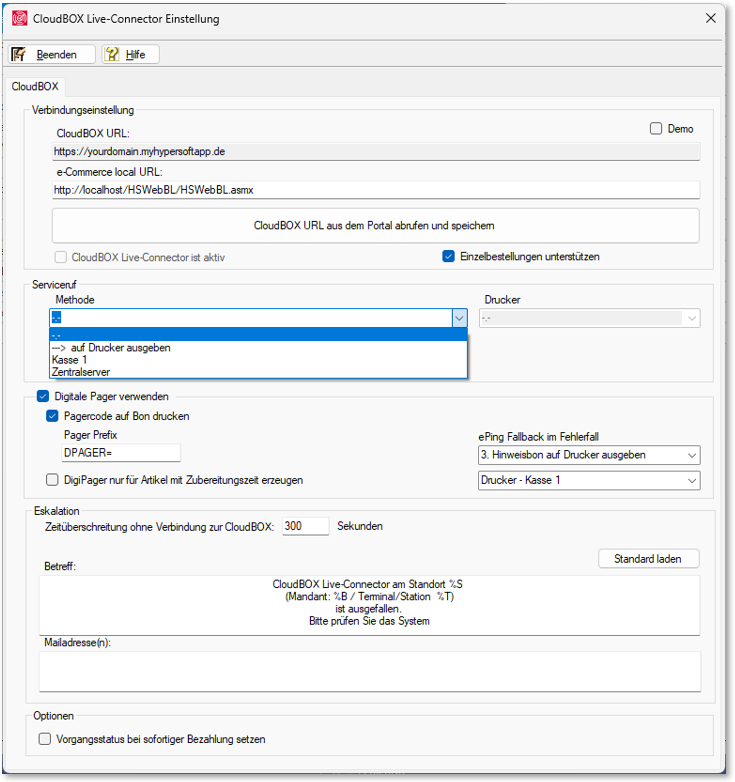
The CloudBOX Live-Connector is used exclusively for processing all in-house order processes. The configuration is carried out via the MCP in the "Interfaces" section. After successful setup, the connector is automatically started for operation by the Terminal Commander.
Setting up the CloudBOX Live Connector
-
Retrieve and save CloudBOX URL:
-
Click on "Retrieve and save CloudBOX URL from the portal". Then restart the Terminal Commander.
-
-
Configuration security:
-
The system checks the settings when they are saved:
-
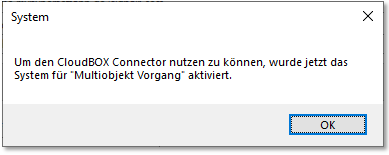
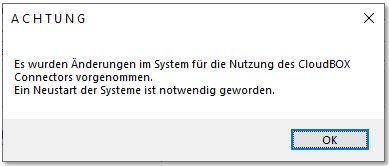
Whether the system has been converted to multi-object operation. If not, an automatic changeover is made with a note.
-
Whether process blocks are possible in the system. Otherwise this will be prepared.
-
-


Configuration options of the CloudBOX Connector

| Element / Switch | Function / Description |
|---|---|
| CloudBOX URL |
Store or retrieve the URL to the CloudBOX and the local eSolutions interface. |
| Demo mode | The system can only be run in demo mode if instructed to do so by Hypersoft. The CloudBOX URL is then retrieved via the Hypersoft demo portal server. |
| CloudBOX Live Connector is active | You can deactivate a configured CloudBOX Live Connector here. |
| Support individual orders | This setting must be activated with group orders so that individual orders from other customers at a table are handled separately. |
| Set method for service call |
Set method for service call... You can display the service call at a station or print it out on a POS printer:
Select method... Choose between output to a printer or a message at a station. When selecting "Printer", you must select the desired printer. The ward that is to display the service call must be stored for display. Service call text... The text with which the service call communicates can be specified here. The variables %T, %P, %N and %M are filled by the calling table, seat, nickname (if applicable) and the message coming from the mobile phone.
Smart Swap System... The service call can also be redirected using the Smart Swap system of the Online Order Connector so that the correct address is used depending on the table area. Smart Swap settings are prioritised. |
| DigiPager |
Print pager code on receipt... Activate this setting to print the pager code on the receipt. Pager prefix... Use a prefix as shown in the example. A prefix helps the POS system to recognise the desired function when scanning a QR code. Call text... The "call text" is currently not supported at this point and must be stored in the portal settings. ePing fall-back in the event of an error... These settings for the DigiPager/ePing are made in the portal and are only displayed here. Create DigiPager only for articles with preparation time... This setting helps, for example, with drinks that are ready for collection immediately and therefore do not require a notification (ePing). If your concept communicates that items without preparation time are ready for collection immediately, this setting will not generate a DigiPager or ePing for items without preparation time. |
| Escalation |
If a connection to the CloudBOX is lost, a restart of the CloudBOX Live Connector is first attempted. The escalation stored is only executed if this does not help. Escalation settings... Set the time in seconds that can elapse if a connection to the CloudBOX was lost or a connection could not be established after the restart. After this time has elapsed, an HS-SSP message is triggered or an e-mail is sent. The subject specifies the content of the HS-SSP message at all stations See also Initiate escalation...... |
| Mail addresses | The mail addresses are optional and if valid mail addresses (xxx@yyy.zz) are stored here, these persons will be informed by mail about an interruption. Several mail addresses can also be stored, separated by a semicolon (;). Here, the stored text in the subject is used with priority. If there is no text in the subject, the standard text stored in the programme is used for the mail. |
| Set transaction status for immediate payment |
Option for in-house ordering. Further topics: Risk of confusion with immediate payment |
Back to the overarching topic: CloudBOX for eSolutions

